To make the troop compartment large enough means lengthening it by about 1.5 inches to my eyes. I decided to take the same approach as Chapterhouse by adding the length to the rear of the hull. Why not just go with Chapterhouse's conversion kit? Well, they extend the hull a bit too much to my eyes, about 2.5 inches.
I made the template for the hull side extensions by tracing the rear of the hull outline, shifting 1.5 inches and tracing again. The result is here:
The side extensions are then fit in nicely. The floor extension is a simple 2"x1.5" rectangle, I added tread plate to match the look of the stock floor.
Even though it will be difficult to see, I painted all of the interior bits prior to assembling the hull.
I'm not a huge fan of the "T" tail look, so I cut the tail and flipped it, so that the stabilizer is swept back and in the anhedral position.
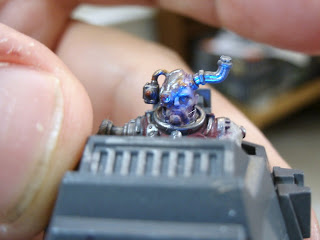
An extra feature that I decided to add to this project was lights -- 4 white LED's for the headlights, 2 blue LED's to light the cockpit and turret, and two red LED's to light the cargo hold. The panel lights create an interesting study in object source lighting.
The battery pack will be mounted on the base with silver buss wire running up the flying stand. The socket for the stand will provide the contact point for the battery power.
Here's a shot showing the headlights, pilot console lights and the interior red lights illuminated. Completing the model now is largely a matter of final assembly and painting. The last really big challenge is building terrain on the base to hide the battery pack while still allowing for removal to change the batteries.


2 comments:
might be pricy but you could model a wrecked rhino or chimera for the base and hide the power source inside.
leave the rear ramp unglued so you could pull the battaries out at will.
Ultimately, I did something like that. I'll be posting the finished model up soon.
Post a Comment